Data.BioTracer
HUGIN/IFR BIOTRACER Demonstration Activity
Data Input From CSV File With Preprocessing
In this tutorial we preprocess a data file such that it is ready for the structure and parameter learning covered in tutorial 1.
We use the data file asia2.dat generated from the well known Asia example but some of the values has been messed up, which we must clean up before using the data:
- The label N/A is used for missing data
- Several distinct labels are used for yes and no, eg. yes, YES, y no, NO, n
Load the data file as in tutorial 1, when the data file has been loaded then open the preprocessing tool by right-clicking in the data set and select Preprocessing (Figure 1).
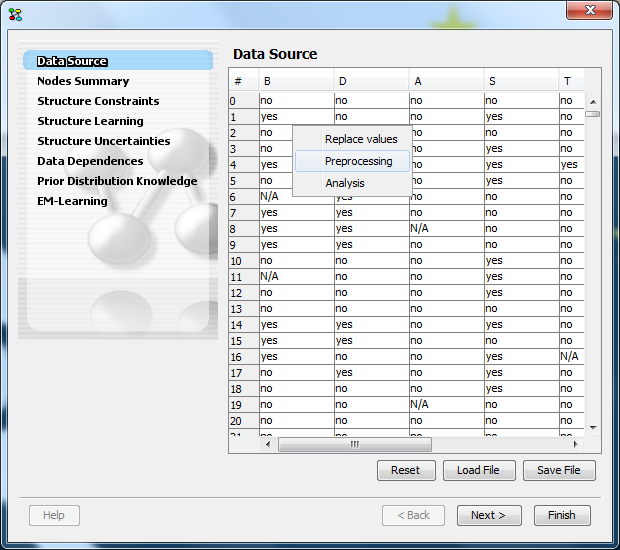
Figure 1: Right click the data set and select Preprocessing
The preprocessing tool appears (Figure 2).
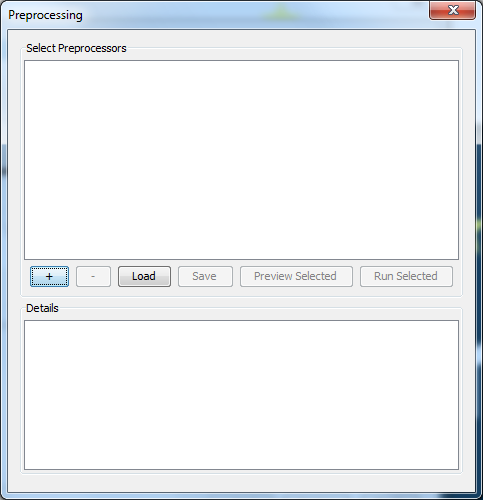
Figure 2: The preprocessing tool - no preprocessor descriptions yet
Creating preprocessors
We must create three preprocessors:
- Replace all occurences of N/A with empty labels, as missing data is represented using the empty label
- Clean up the labels for yes such that we only have a single label instead of multiple yes, YES and Y.
- Clean up the labels for no such that we only have a single label instead of multiple no, NO and N.
(1) Create a preprocessor to replace all occurences of N/A in all columns with the empty label
Click the + button in the preprocessing tool (Figure 2) to create a new preprocessor. Select the Replace preprocessor type from the dropdown list (Figure 3).
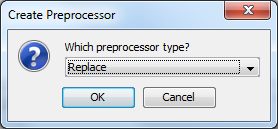
Figure 3: Select preprocessor type Replace
Just select any column when asked for the column, we will come back later and change this to all columns (Figure 4).

Figure 4: Select a column
Enter N/A when asked for which data items to replace (Figure 5).
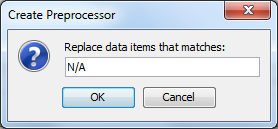
Figure 5: Replace data items that matches N/A
And just accept the empty label when asked for the replacement (Figure 6).
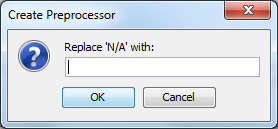
Figure 6: Enter replacement - leave the text field empty
The preprocessor has been created, now we must edit the preprocessor description such that it applies to all columns. Select the preprocessor and edit the Details text area (Figure 7).
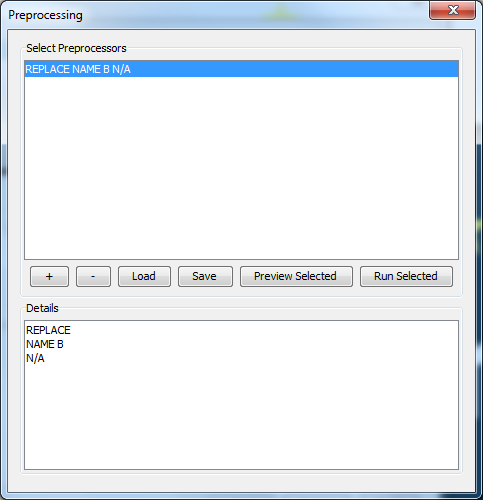
Figure 7: Edit a preprocessor description
Replace the line that selects which column to target from NAME B to SELECT .* which makes the preprocessor description match any column name using the regular expression .* (see Figure 8).

Figure 8: Description edited such that preprocessor matches any column
(2) Create a preprocessor to clean up all 'yes' labels
Click the + button in the preprocessing tool to create a new preprocessor. Select the Regular expression replace preprocessor type from the dropdown list (Figure 9).
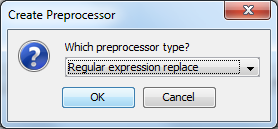
Figure 9: Select preprocessor type Regular expression replace
Just select any column when asked for the column, we will come back later and change this to all columns (Figure 10).
Figure 10: Select a column
Enter the regular expression [yY].* to match all values of any length that begin with a lower or upper case y (Figure 11).

Figure 11: Enter regular expression
Enter the label yes when asked for the replacement (Figure 12).
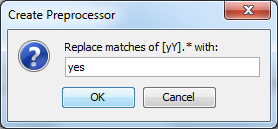
Figure 12: Enter replacement
The preprocessor has been created, now we must edit the preprocessor description such that it applies to all columns. Select the preprocessor and edit the Details text area (Figure 7).

Figure 7: Edit a preprocessor description
Replace the line that selects which column to target from NAME B to SELECT .* which makes the preprocessor description match any column name using the regular expression .* (see Figure 8).
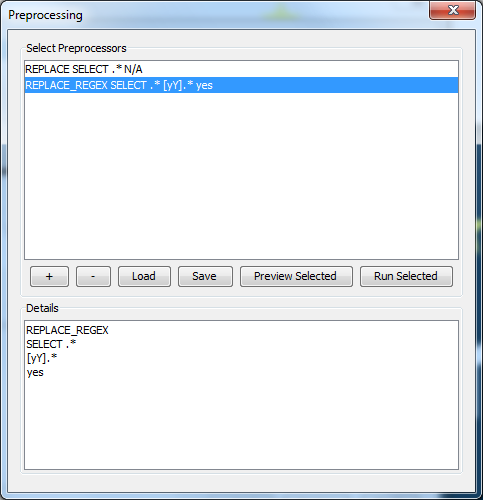
Figure 8: Description edited such that preprocessor matches any column
(3) Create a preprocessor to clean up all 'no' labels
Follow the same procedure as in (2) using the regular expression [nN].* and the replacement text no.
Storing Preprocessor Descriptions in File
To store the preprocessors click the Save button (Figure 9) and choose the All option (Figure 10) and specify a file name to store the preprocessor descriptions.
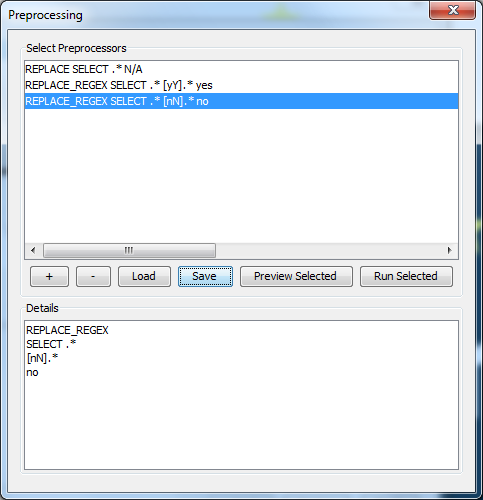
Figure 10: Click the Save button
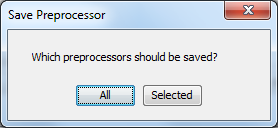
Figure 11: Select All
The stored preprocessor descriptions can later be loaded by clicking the Load button in the preprocessing tool.
Applying a preprocessor
Before we apply a preprocessor we must first check that it performs as expected. Select the first preprocessor (REPLACE SELECT .* N/A) and click the Preview button. A summary appears (Figure 12). Here we can inspect that the preprocessor does as intended and that no errors occured.
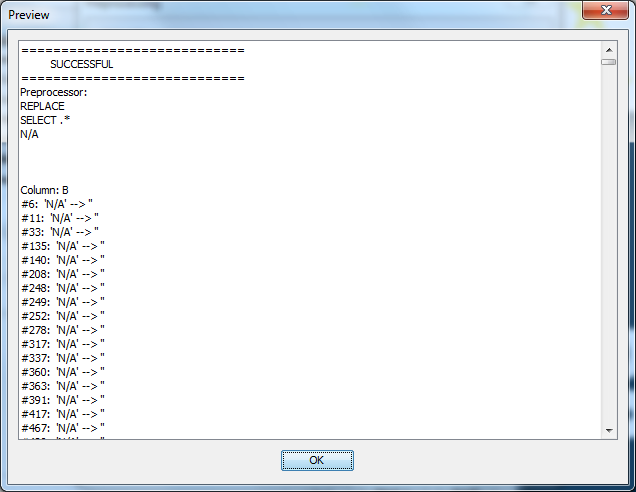
Figure 12: Preview a preprocessor
Next we are ready to apply the preprocessor to update the data set, click the Run button. A report appears on screen, telling us if the preprocessing failed or completed successfully (Figure 13).
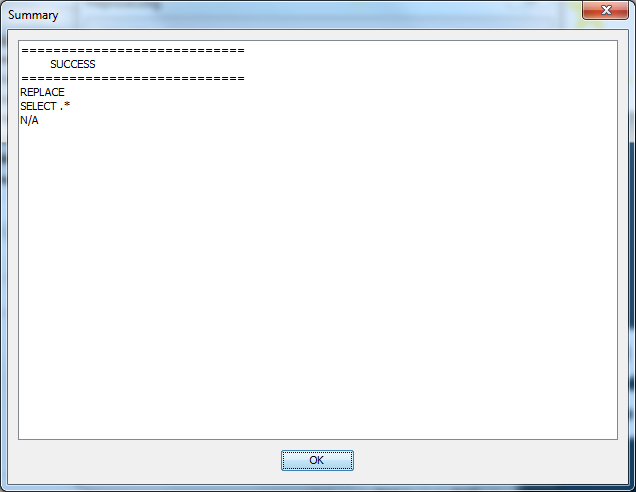
Figure 13: Report of completed or unsuccessfull preprocessors
Apply the remaining preprocessors by repeating this step for each preprocessor.
The data file has now been preprocessed and we can resume learning and proceed as in tutorial 1.
HUGIN/IFR BIOTRACER
Demonstration Activity
"A data input tool"